All Park University students, faculty, and staff have a Zoom Pro account under Park’s Zoom license
agreement.
This document will describe how students do the following:
- Activate a Zoom account
- Create and host a meeting
- Record a meeting
- Download a meeting recording
- Post a meeting recording to Canvas
- Find more help with Zoom
Activate a Zoom Account
Access your Zoom Pro account via park.zoom.us
Create and Host a Meeting
1. Go to the Park University Zoom website and Sign In (upper-right hand side of site) with the Zoom account
credentials you established when you activated your account.
2. In the left-hand sidebar, click Meetings, then click the Personal Meeting Room tab:
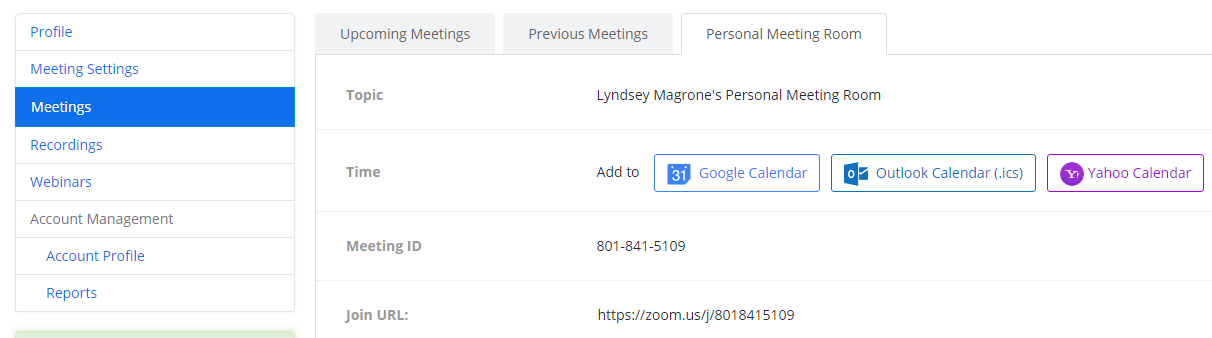
3. Locate the Join URL: - this will be the URL you give to people you’d like to participate in your
meeting. Be sure to send this URL to anyone you’d like to join your meeting.

4. When you are ready for your meeting to start, click the Start Meeting button in the upper-right
side of the window
5. The first time you join or host a meeting, you will be prompted to install the Zoom desktop
client – follow the prompts to install the software if you don’t have it installed yet
6. The Zoom client will open – you can choose your audio type, share your screen, and invite
others to join your meeting
Record a Meeting
You can record meetings as they are occurring, and can save the recording either on your own
computer, or in the Zoom Cloud. Zoom Cloud recordings are deleted after 10 days, so you will
need to download the recording locally and save it somewhere else if you need the recording
for more than 10 days.
To record a meeting, do the following:
1. From within an active Zoom meeting, click the Record button at the bottom of the Zoom
application
2. Select where you would like you recording saved – either locally or in the Zoom Cloud:

We recommend recording the meeting to the Zoom Cloud, then downloading the meeting for
redistribution later. The rest of these instructions will refer to meetings recorded to the Zoom
Cloud.
3. You will know your meeting is being recorded in the following ways:
a. A Recording icon will display in the upper-left of the meeting window:
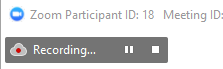
b. You will have pause/stop buttons in the bottom bar instead of a Record button:

4. When you are finished recording, click the Stop button
5. Meetings recorded to the Zoom Cloud need to process before they can be viewed – you will get
an email notification when your meeting is ready to access – this process can take an hour or
more, depending on the length of your recording
Download a Meeting Recording
Meetings are only kept in the Zoom Cloud for 10 days. When you get the email notice that your
recording is ready, do the following:
1. From within the email, click the “For host only, click here to view your recording detail” link
2. Sign into Zoom, if prompted
3. Find the meeting you’d like to download in the list displayed. If you have more than one
meeting, you can preview the recording by clicking the image next to the meeting title:
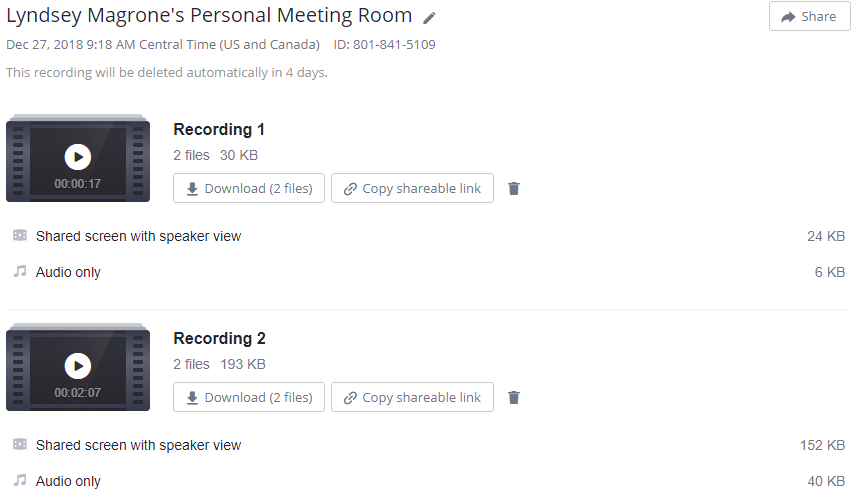
4. Click the Download button next to the meeting you want to download:

5. Two versions of your meeting (m4a (audio only) and mp4 (audio and video)) will download to
the default download directory for your computer’s web browser
Post a Meeting Recording to Canvas
After you have downloaded your meeting, you may want to upload it to Canvas for viewing by your
instructor and/or classmates. To upload a meeting file, do the following:
1. Log into Park University’s Canvas site, then navigate to the course where you’d like to upload
your recording.
2. Find the location in your course where your instructor has asked you to post your meeting
recordings.
3. Locate the downloaded files on your local computer. They are likely located in a Downloads
folder, depending on your computer’s operating system.
4. Upload the mp4 version of the recording to the desired location
a. If as an Assignment, upload the recording file as you would any document file.
b. If to a Discussion Board, add as a Reply:
i. Click the Reply button in the appropriate Discussion Board
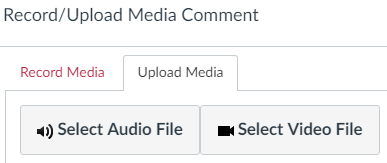
ii. In the post editor, click the Record/Upload Media button:

iii. Click the Upload Media tab, then the Select Video File button:
iv. In the window that opens, navigate to the folder where your recording
is stored on your local computer, and double-click the mp4 version of your
meeting recording
v. The recording will be uploaded and the following will display in the post editor:
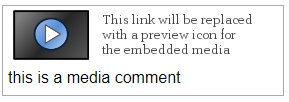
vi. Click Post Reply, and your meeting video will appear in as a post as a
thumbnail:
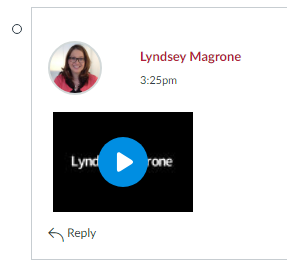
vii. Click the Play button on the thumbnail and a larger version of your
meeting will play in the discussion post.
Find More Help with Zoom
The following resources are available if you need additional help using Zoom:
Park University support articles about Zoom